
How do I setup laboratory work?
In this particular example, we are going to go through the lab work steps required for a denture fit stage.
First of all, navigate to your treatment form. We have just completed the Primary Denture Impressions stage and are ready to arrange the second appointment for the bite stage of the denture.
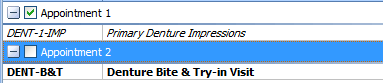
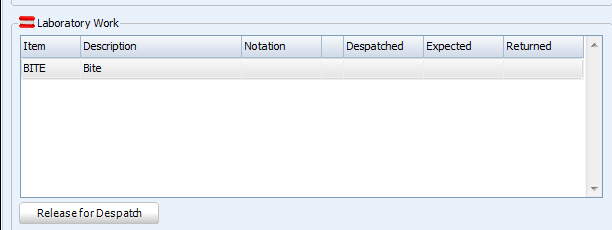
Double click on Appointment 2 (just as you would if you were adding it to the appointment clipboard). The following screen will appear. Click the Release for Despatch button towards the bottom of the screen. Click OK to close the Treatment Visit window.
We now need to navigate to Laboratory Work interface. This is accessible from the Options menu (shown below).

The treatment item we just clicked Release for Despatch is now sat in the Pending section (shown below).
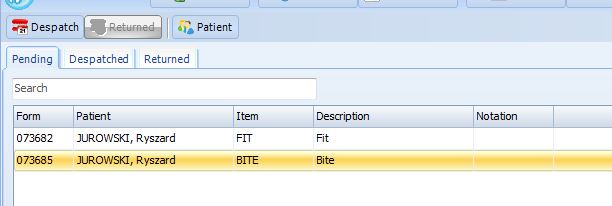
Highlight the treatment item by clicking on it, and then click on the Despatch button towards the top of the screen. The window below will appear, click on the lab that you will be using. Enter a despatch day, working day it will be at the lab for and a ticket number. The Expected and Required fields are populated automatically. The required field is when the appointment is booked for that particular treatment.

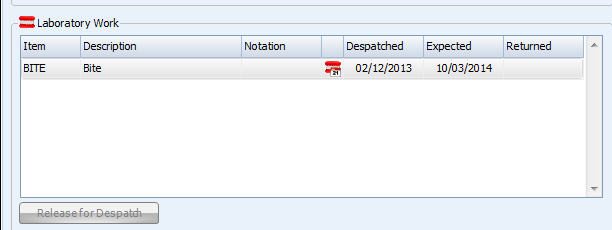
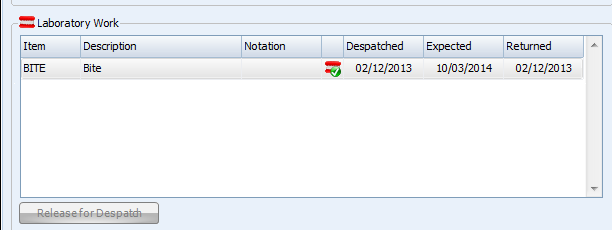
The lab work for this particular treatment will now be moved into the Despatched tab (shown below).
When the item is returned from the lab, click on the Returned button towards the top of the screen. This item will now be visible in the Returned tab (shown below).
Congratulations, the lab work process is now complete.
Note: You will notice the different lab work icons depending which stage the lab work is at. You will also be notified if you try to book a treatment appointment before the expected date of return for the lab work item.
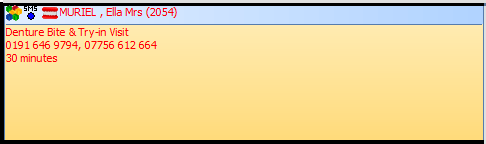
This icon indicates the lab work is pending, ready to be despatched.
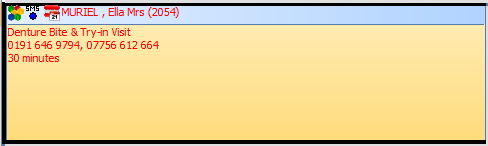
This icon shows that the item has been dispatched.
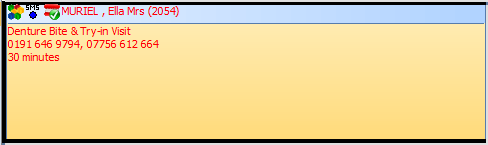
The following icon shows that the item has been completed by the lab and has been returned.
Request a demo »